TLDR:
- Goal: make a private server to run Pwn Adventure 3: Pwnie Island on that you can use to hack.
- Use VMs to host the server - whether on a personal machine or using an online provider.
- Create two Docker containers - one for the master, one for the game.
- Connect to the server!
The video
Introduction
Pwn Adventure 3 has a public server, but its dedicated resources are not adequate anymore for everyone to get on there and start hacking at the same time. In this episode of the Pwn Adventure 3: Pwnie Island video series, we're looking at how to set up a private server using Docker, so that we can play around and hack to our heart's content.
Docker Method
Pwn Adventure 3 features an online and an offline playing mode. Though it might be tempting to hack on the offline mode, you'll get the most out of your MMO hacking experience if you opt to use a server of your own.
System Requirements
Before we really jump in, let's talk about two important things: system requirements and the server setup. The official readme recommends the following system requirements:
- At least 2GB of RAM for the server.
- Spawning 2-3 instances per CPU core. You can spawn more, but only if you have enough RAM.
- Both server-side and client-side, you'll need more than 2GB of disk space so that you can install the game itself.
There's a great GitHub repository that provides options for installing the server. You can use Pwn Adventure's official guide (here), or @Beaujeant's install guide (here) that gets you sorted if you're using Ubuntu 14 or 16 in a VM. If you scroll down a little down the GitHub repository page, you'll see LiveOverflow's very own in-depth step-by-step guide to setting up the server using docker.
Using the Docker Method
The broad logic is to create a server that can have docker running with two containers: the master and the game container. How you get this server up and running is up to you. You can use your own dedicated hardware, hardware with VMs, or use Infrastructure-as-a-Service providers, such as DigitalOcean. Whatever you decide to do, you must be sure that you have enough RAM and CPU cores to run the number of instances you're interested in, and that you can connect to the server via SSH.
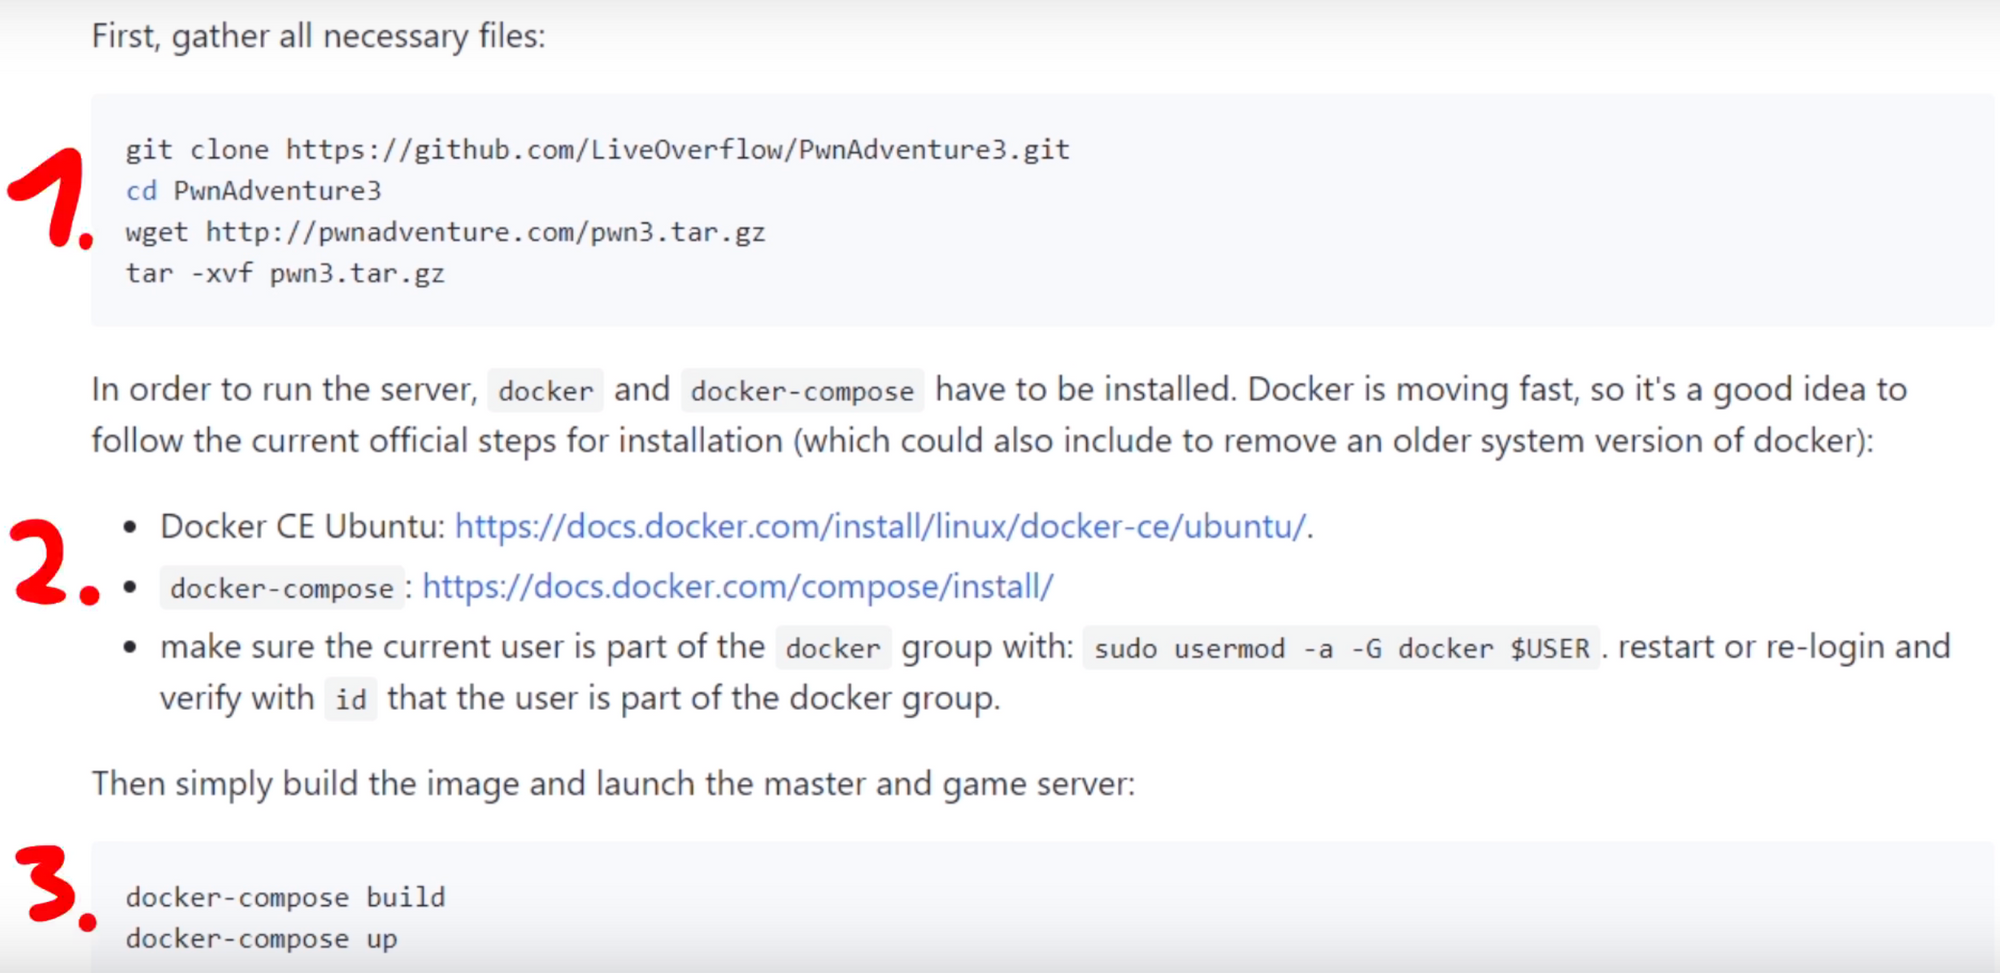
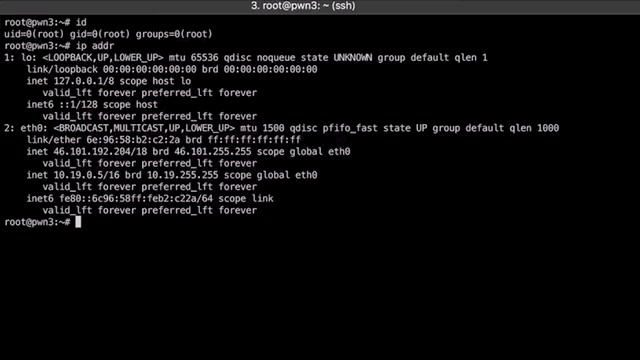
What we did was use DigitalOcean to get a server up and running. We were given its IP address, so we ssh'd into it so we can set up the docker containers and the game. First, we installed the Pwn Adventure 3 game by cloning the github repository, and then we also installed the community version of Docker.
Note that in this video and tutorial, we're working with the following versions:
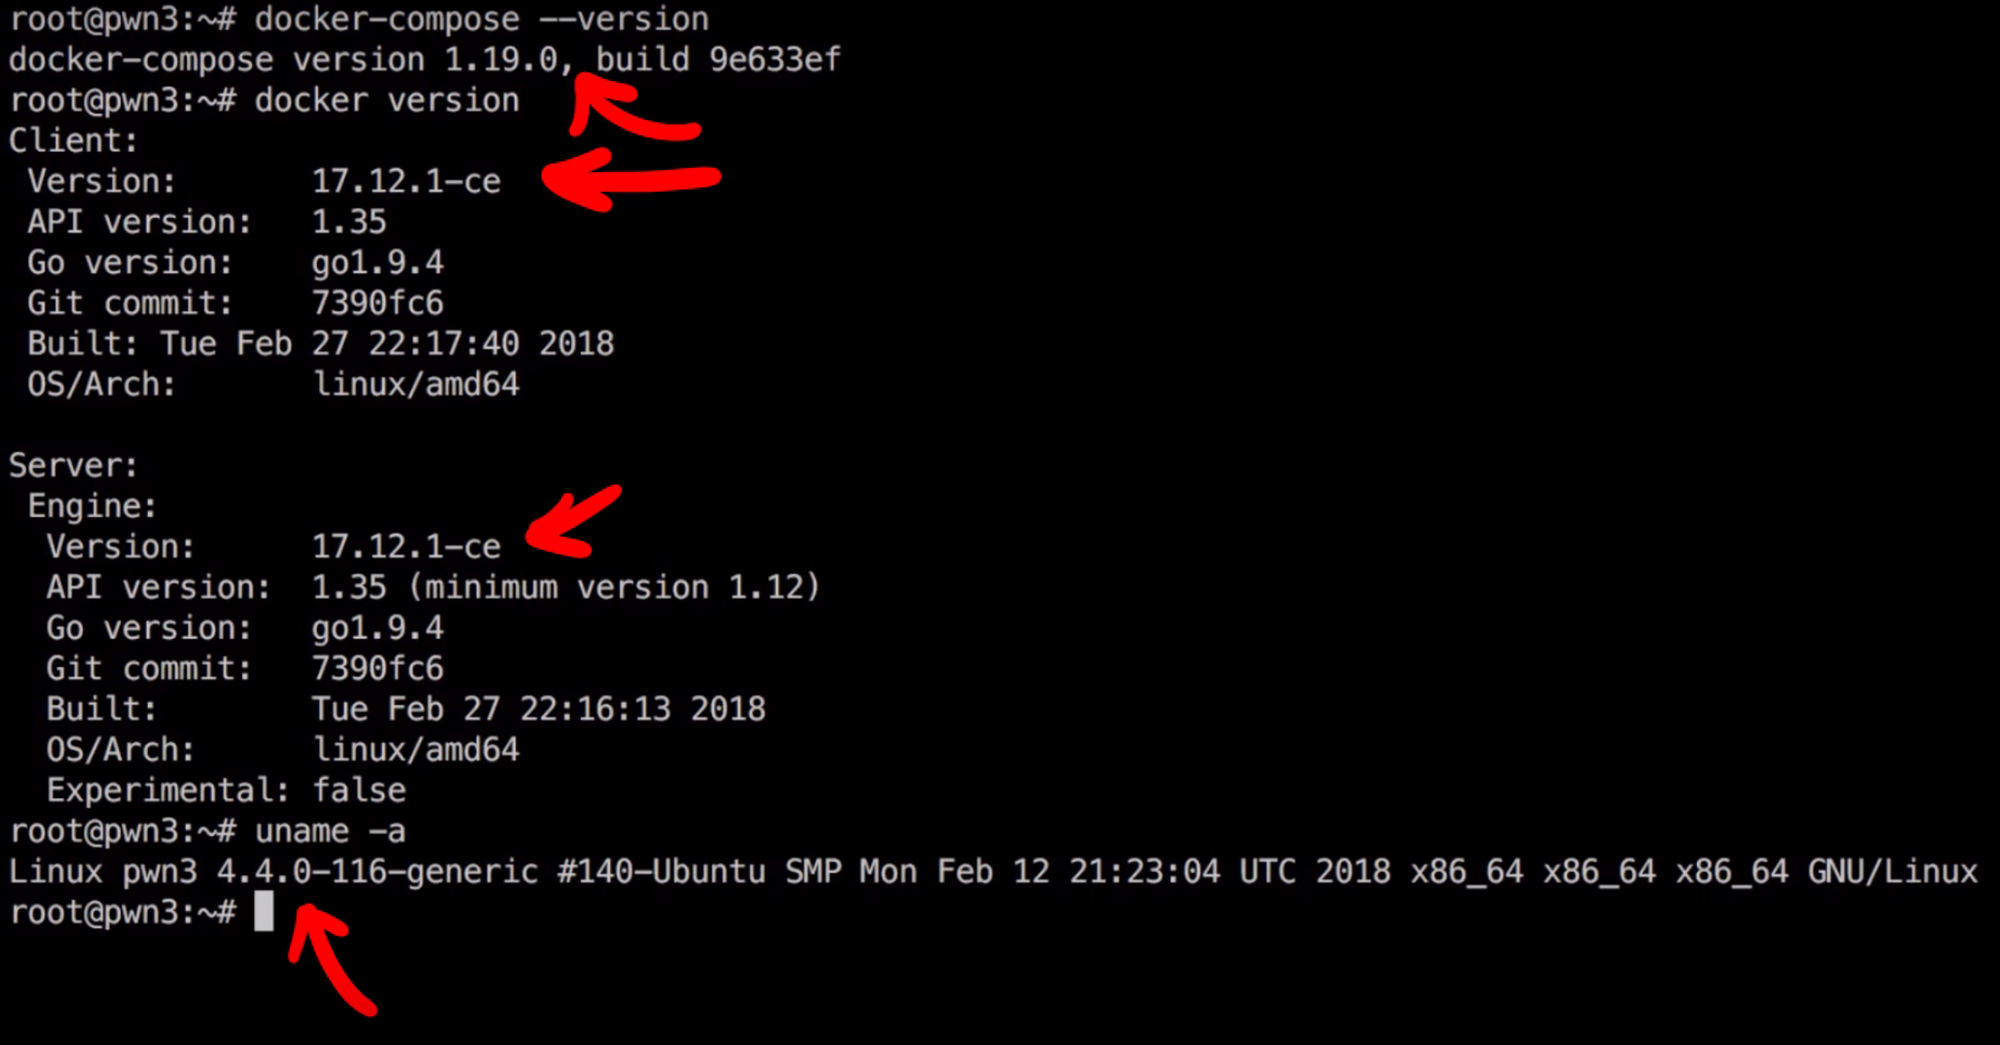
docker-compose version 1.19.0
docker version 17.12.1-ce (client and server)
kernel version 4.4.0-116-generic
Before building the docker images, remember to unpack the game files with
tar -xvf pwn3.tar.gz
Next, build the docker images and then run them using
docker-compose build
docker-compose up
The server is up and running now, so don't hit Ctrl+C, otherwise the container quits altogether.

That's fine for testing purposes, but once you're happy with the server setup, use the "-d" flag to run the server in detached mode, like so
docker-compose up -dCheck that everything is running well and smoothly by running the following commands:
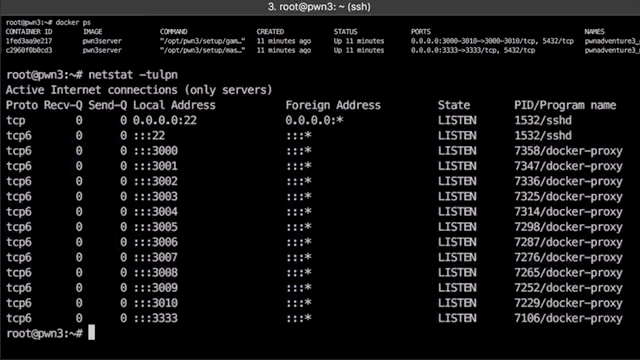
docker ps
netstat -tulpn
Your docker should be running a game and a master container, and the docker proxy processes should be listening on a few ports. The outputs of the commands should look something like this:
Connecting To The Servers
Great! You've made the server, it's running smoothly, time to connect! You have to edit the /etc/hosts file to include the ports to listen to. Make sure to edit with root or administrator privileges!
- For Windows users, head over to
C:\Windows\system32\etc\hosts - For macOS/Linux users, go to
/etc/hosts
In this file, punch in the ip and name of the server you just made. It should look something like this:

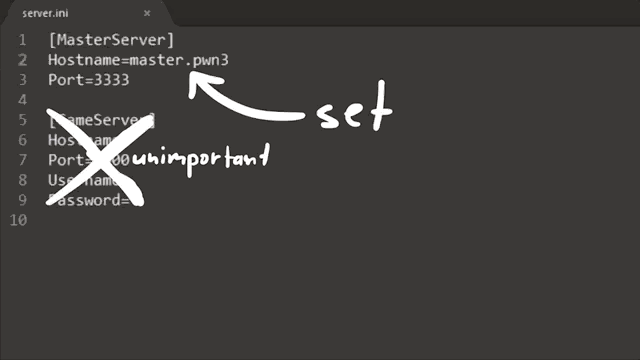
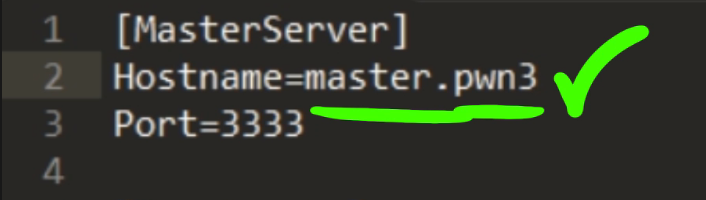
You also need to edit the server.ini file in the client folder. You need to change the hostname to master.pwn3, or whatever your master docker container image name is. Note: do not put in an IP address, as it won't work.
Running The Game
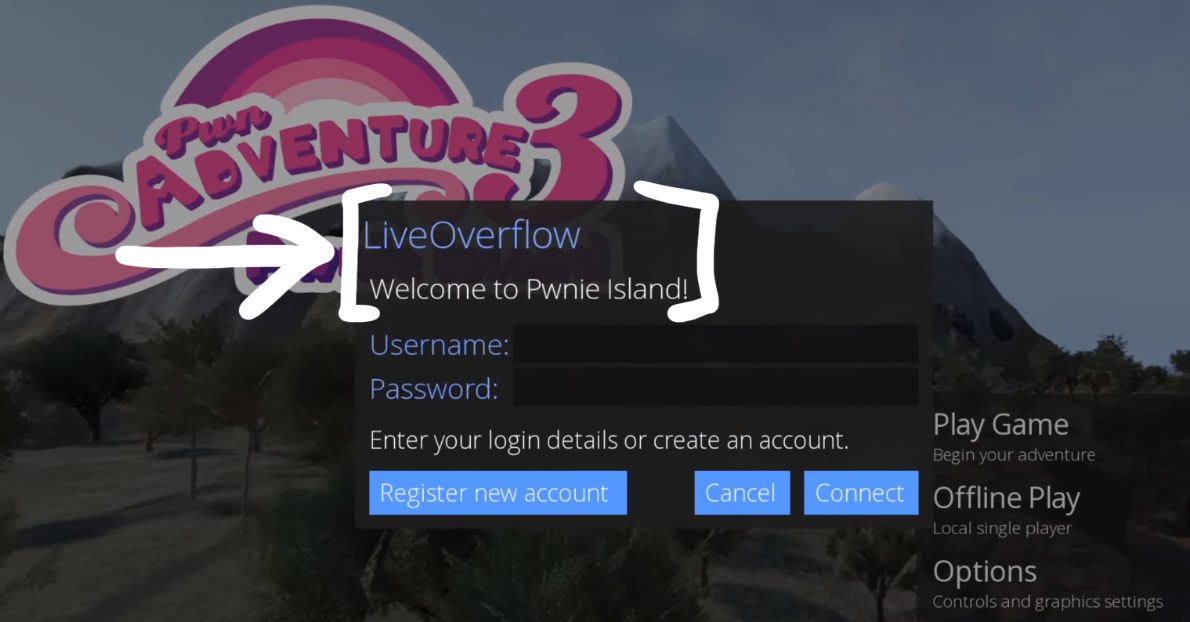
Now, launch the game on the client! It'll download files for a bit, and then it'll be ready to go. Connect to your server, enter your registration info, and off you go to play the game!
Server Customization
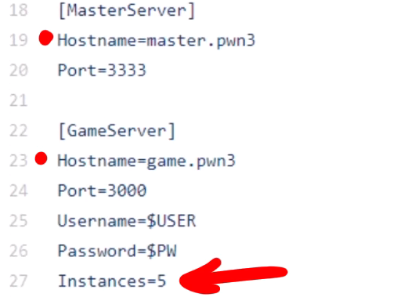
If you want to customize your server, such as the server hostname, what welcome message you get when you connect in-game, or the number of instances running, you'll need to edit the setup scripts; our master server example is on the Github repository here. Like we said in the system requirements section, having 2-3 instances per CPU core is probably a safe bet. If your game is lagging, consider reducing your number of instances.
Final Words
Over this video, we saw how to set up a private Pwn Adventure 3: Pwnie Island game server that you can access to play and hack the game. Check out the next video and blog post to see what information you need to gather before beginning to hack!